What up, code ninja?! Welcome back to my “Code Like a Boss” series, where we’ve been discussing the basics of HTML and CSS for email development. If you’re just getting started, you may want to review my previous posts, starting here, to give you some context. Otherwise, let’s forge ahead with a how-to on images.
We’ve set up our basic HTML framework with some nested tables and used CSS to make it more presentable and user friendly. Now, the fun part: content! For demo purposes, let’s say we have a couple simple tables with a logo and a little content, like this:
And we want to add an image below our content, so it looks like this:

How do we do that?
First, we start with an image tag: <img/>. It’s important to note that an image tag is self-closing, meaning it doesn’t require a closing tag (</img>) like other tags do. In some versions of HTML (like HTML 5), the ending slash is optional, but for our purposes, we’ll keep it.
When I add an image tag to our table, we get something that looks like this:
Wait, that’s not right. We just added an image. Shouldn’t we see something?
We did add an image tag, but that’s not enough. Our browsers/email clients can’t read minds (probably for the best), so we need to give them information on where the image is located. We do this by setting our source attribute.
The source (“src”) attribute tells the browser/email client where to look for an image. If you’re building an email in Oracle Eloqua, the value of this attribute will be a URL that points to an image in your instance. (To find this URL, double click on any image in your library and select the full URL).

If you are not working in Eloqua, simply use a URL that directs to wherever your image is stored.
Here’s an example:
<img src="http://img.en25.com/EloquaImages/clients/RelationshipOneE10Sandbox/
%7b5dd00ff2-0782-4d72-97e9-130318521614%7d_marketing.jpg"/>
Troubleshooting tip: If you add your source attribute and URL and you see something like this…

…it’s most likely an indication that something is wrong with your URL. Make sure to double check that you’re using the correct path and file extension.
Now that we have a valid image source, the browser/email client can find it and display it, like so:
Woohoo! Feels good, doesn’t it?
Even though our image is rendering, it’s best practice to include some alternate text along with it. For the web, this is extremely useful for blind/low-vision audiences who might be using a screen reader. It also helps search engine bots index your pages. Who doesn’t want that? For email, alternative text is an absolute must, as this will be the text that shows up if a user has images turned off. To set this alternate text, we’ll use the “alt” attribute, like so:
<img src="http://img.en25.com/EloquaImages/clients/RelationshipOneE10Sandbox/
%7b5dd00ff2-0782-4d72-97e9-130318521614%7d_marketing.jpg" alt="super sweet image,
dude."/>
Here’s how our email would look if our images were turned off:

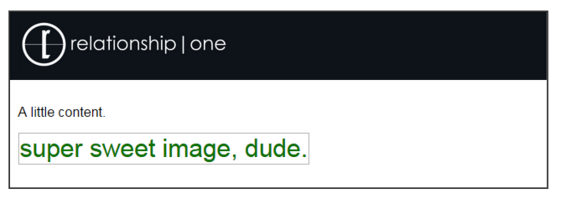
If you want to get fancy, some webmail clients like Outlook.com and Office365 support styled alt text. To add style to your text, use inline CSS, like this:
<img src="http://img.en25.com/EloquaImages/clients/RelationshipOneE10Sandbox/
%7b5dd00ff2-0782-4d72-97e9-130318521614%7d_marketing.jpg" alt="super sweet image,
dude." style="color: green; font-family: Helvetica; font-size:30px;"/>
The result:
Get the idea?
There are other attributes such as width, height, align, etc. (see full list here) that you can use on your image tags, but “src” and “alt” are the two most important.
That’s all for today. Hit me up with questions/comments in the section below. I’d love to hear from you. Until next time, happy coding!