 You get dozens—well, probably more like 100’s—of emails everyday. Perhaps you delete them. Perhaps you skim them. Perhaps you are in the small percentage of people who actually read them. It might blow your mind, but someone built that email. Crazy, I know. They put their blood, sweat, and tears into the email you looked at for maybe 0.4 seconds. Someday, or perhaps it’s your job today, you could be tasked with creating an email. From a living, breathing email designer–here are 3 easy steps that will get you started on the right path to a killer email.
Step 1: Research
I’ve noted before that I have a slight obsession with beautifully crafted emails. I have a folder in my inbox titled “inspiration emails”. If you’re in the realm of email marketing, perhaps you do too. I once heard a quote that went something like this: “All good art is borrowed.” I’m paraphrasing, but that’s what I remember from my very first art class in college. The same can be said for email design, in my opinion. When an email catches my eye, the first thing I wonder is, “how I can apply something similar to my email designs?”. Real talk: instead of calling myself a designer, I should start calling myself an excellent “revitalizer”.
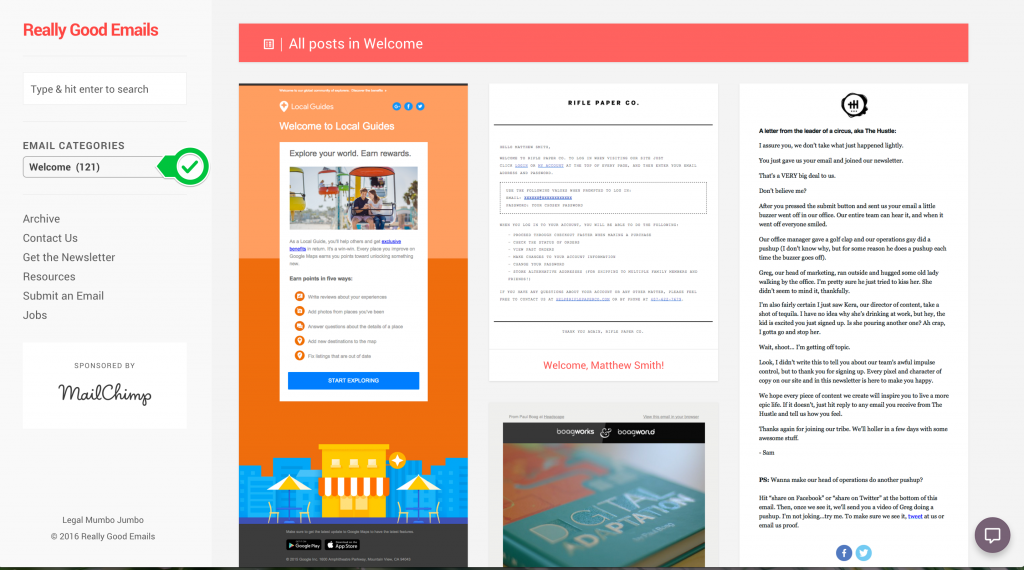
Maybe you’re not a geek like me and you don’t save emails based on how lovely they look. Good news! Other email geeks like me decided that showing off really good emails was exactly what the world needed. So, they made a website called reallygoodemails.com. I actually met one of the co-founders this summer and love the passion he shares for the email community. The website has thousands of emails and the capability to select a certain email category. For example: welcome, unsubscribe, newsletter, transactional, video, etc.
Save some of your favorite emails. I do this on a Pinterest board because I love email that much. The next time your boss asks you to send out an email, you’ll have some great examples to get started.
Step Two: Build
After you’ve put together your “inspiration board” of emails, the next step is to build your email. I typically start with a wireframe of the email design. I use Adobe Illustrator to mock these up so I can easily create any images or icons that will be used in the email. Some designers will also use Adobe Photoshop. Mockups can also be created in a Word document or on a notepad or whiteboard.
Based on my experience and personal preference, I would recommend building emails in HTML vs a WYSIWYG tool. Working with an in-house developer to build your emails is a great idea because you can discuss making your email mobile-friendly or responsive. If you don’t have a developer on staff to build you an HTML email and you don’t have pre-existing templates, you have options! There are some great resources out there to get you started.
Here are a few I’ve taken advantage of. You can download the HTML emails and edit them in an HTML editor of your choice:
https://litmus.com/blog/go-responsive-with-these-7-free-email-templates-from-stamplia
https://litmus.com/resources/free-responsive-email-templates
TIP: Once you create an HTML email, it’s always a good idea to create that email as a template for future use.
Step Three: Test
Once you’ve built your HTML email, the last thing you’ll want to do prior to sending is to test it. I always send a test email to myself to make sure the email looks okay and all the links work inside of the email.
You’ll want to take it a step farther than that though. It’s important to know that not all inboxes will look the same. There are over 40 email clients, and you’ll want to make sure your email will look good in the major clients and popular devices. Trying to cover all of those clients on your own using your inbox, a coworker’s android, your boss’s iPhone6s Plus, the company’s tablet, and your mom’s yahoo account can be a little overwhelming. Thankfully, I’m not the first person to be overwhelmed by the idea.
Here are two resources that will make email testing easy. Both do essentially the same thing; they test your emails across multiple email clients and devices in minutes. They provide you with instant previews and also show you how your message will look in the preview pane, and with images on and off. I recommend looking into both and deciding which one would work best for your company.


With these three steps and supporting tools, you’re well on your way to creating your next email. Any other suggestions out there for awesome email tools? Post them here!